

Customising your shoes with Zieler paint pens is the perfect way to explore your creativity and it also gives you the option of up cycling your old shoes.
In this blog, we'll walk you through how to give your shoes a Toy Story™ themed makeover simply by using our Zieler Paint Pens.
Create your own by following these easy steps.
1. Before You Paint
To get the best results from our paint pens, make sure your shoes are as clean as possible and completely dry. You can use warm soapy water to clean new shoes, but if you're trying to upcycle an old pair, you can use a cleaning fluid (CIF is a good one).
2. Find and use a strong masking tape
Masking tape is often used when painting because the tape helps protect areas you don’t want painted, allows you to block off sections, and avoid accidental paint smudges.
We suggest removing the laces and to stuff the inside of your shoe with crumpled up newspaper. This makes holding the shoe a little easier while you're decorating.
3. Start with the Zieler Yellow Medium Tip Paint Pen (2.5mm)
Grab your yellow paint pen and use it to colour the tongue of your shoe. Use the stitching as a guide and keep a border. Carry on the yellow colouring all the way down to the tip of the toe section of the shoe all the way to the line of masking tape.
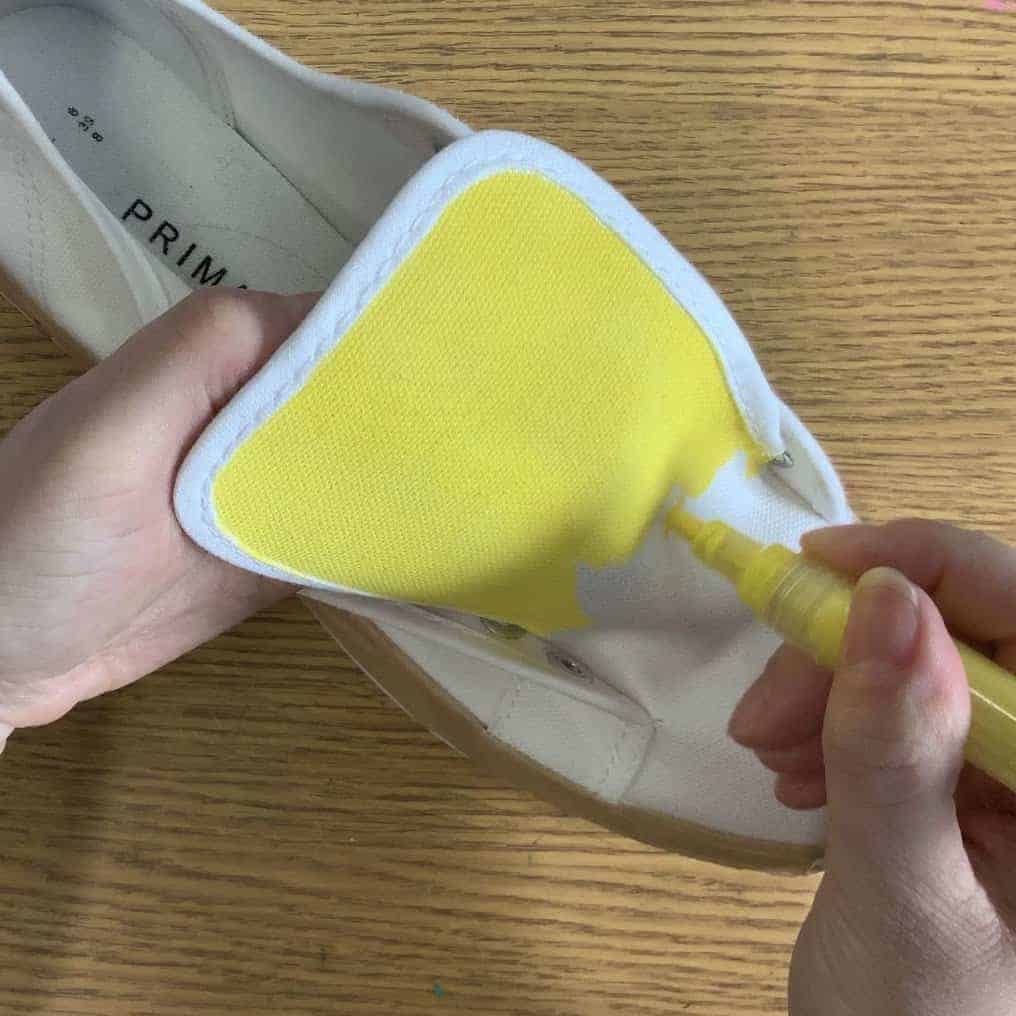
4. Next, take the Zieler Red, Blue and Black 2.5mm Paint Pens
Use the red paint pen to colour in the heel of your shoe. Use the stitching as a guide again to keep a nice clean border.
Once the heel has transformed from white to red, you can move onto the lace section (the eyelet) of your shoe and paint it using the blue pen.
Using your black paint pen, you can add details to the side of your shoe. We chose bold black shapes to mimic a classic cow print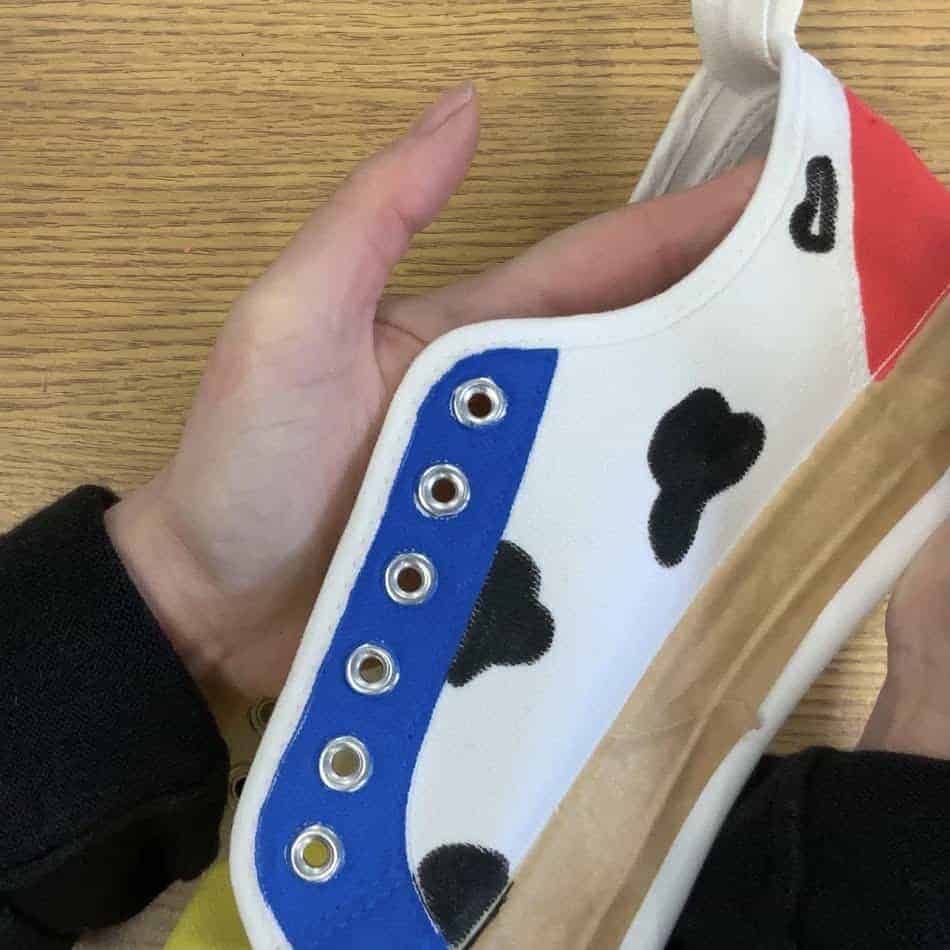
7. Find a HB pencil, a penny and a ruler
Your paint should be drying now, or close to being fully dry - which means we can start layering. You'll need a pencil, a penny and a ruler for the next step.
At the toe of your shoe, trace out two circles for the buttons using your pencil and penny. Then, you can use a ruler to create a checked effect with your HB pencil over the yellow area we painted earlier.
Paint over the outline of the penny using the Zieler grey paint pen, and colour the button in with a silver paint pen. Then, use the red paint pen to paint over the checked effect on the tongue.
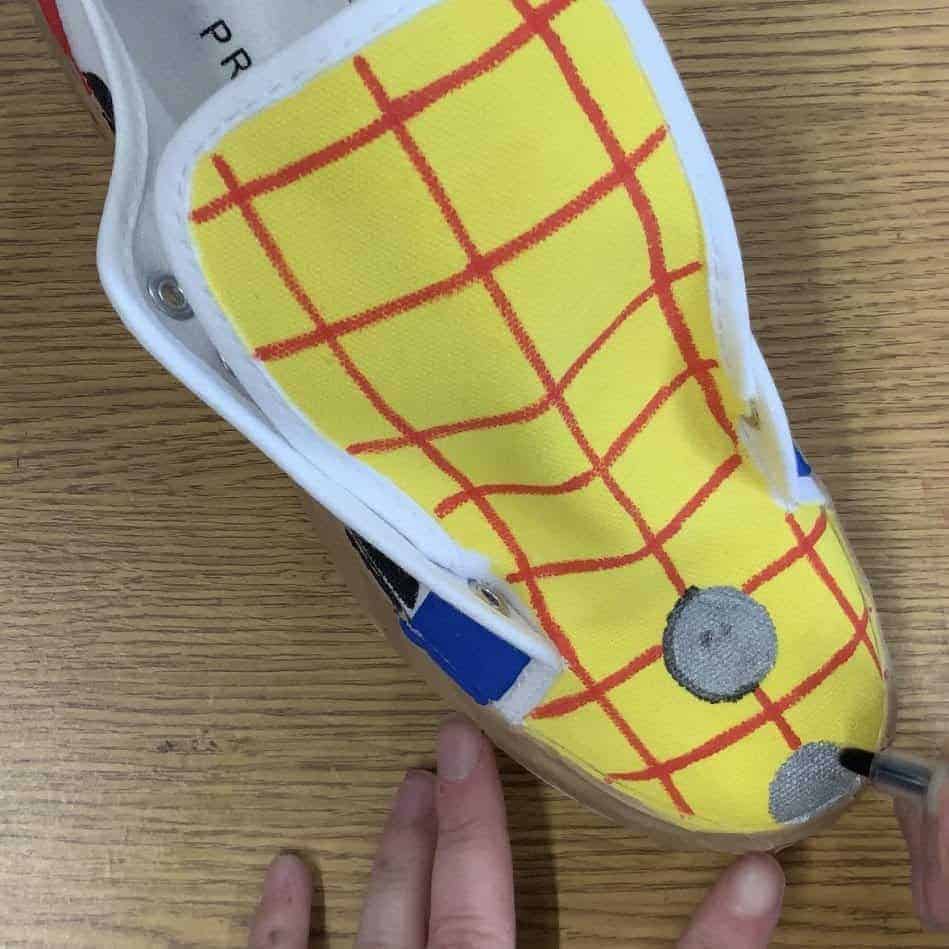
8. The finer details
Take your white and black 1.5mm paint pens out of the box and have them ready to go.
Add black dots over the red heel section of your shoe. The red paint should be dry by now. Once you've finished with the black dots, you can grab your white pen and add four white petal-shaped strokes around the dots. This creates a bandana style print effect.
9. Back to the buttons!
Take your 1.5mm black pen again and add 4 dots to the centre of your silver buttons. Outline one side of the button’s circle to create a subtle shadow. This simple detail adds a 3D effect to your design.
10. Finishing Touches
Let your shoes dry fully before removing the masking tape. The paint becomes permanent once dry, so there’s no need to seal or fix your design.
Turn your shoe upisde down and with your 2.5mm black marker, write ANDY on the sole of each shoe. Don't forget the backwards N!
Once the masking tape has been removed, lace your shoes back up and they're ready to wear!


