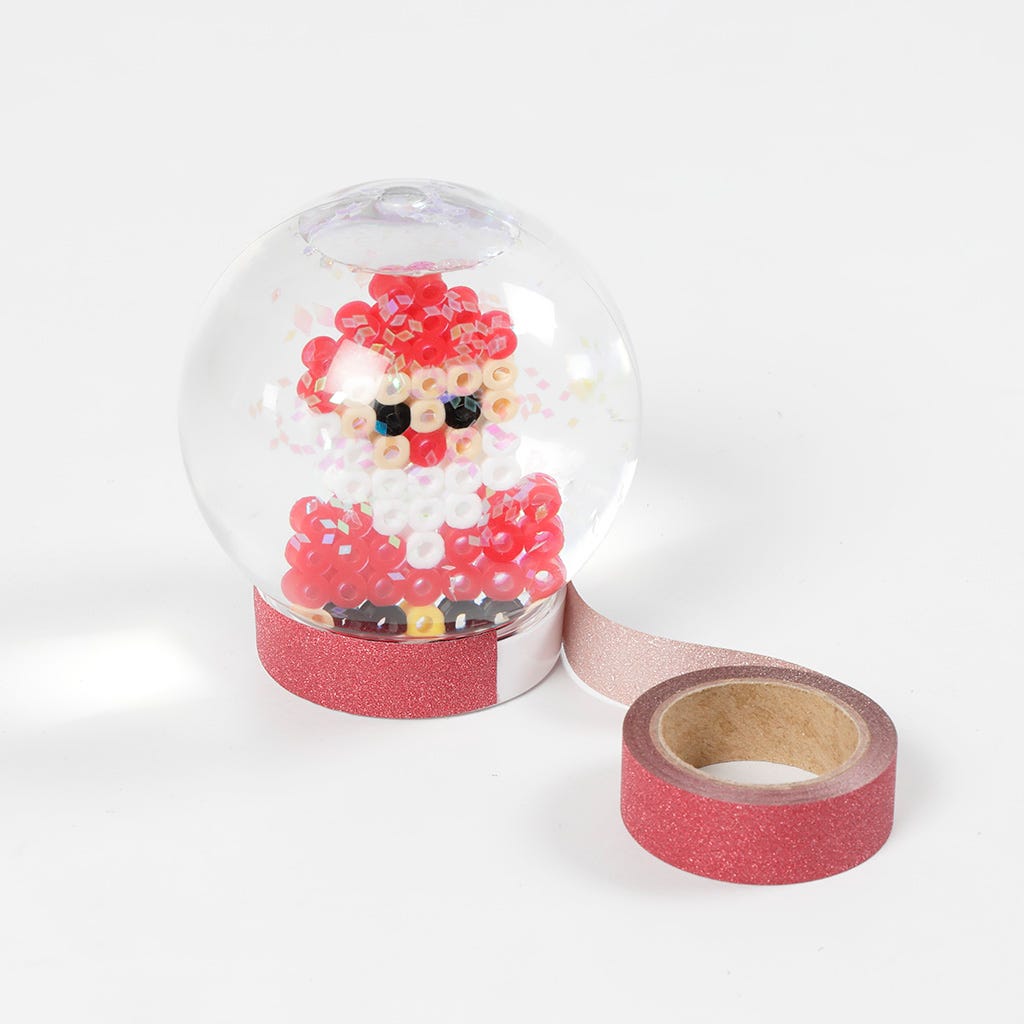
Create your own festive snow globe featuring Christmas characters made from Nabbi fuse beads. Craft a Christmas tree, snowman, reindeer or Santa, then place your finished figure inside the globe. Add glitter, secure the lid tightly, and enjoy your handmade holiday decoration.
Step 1
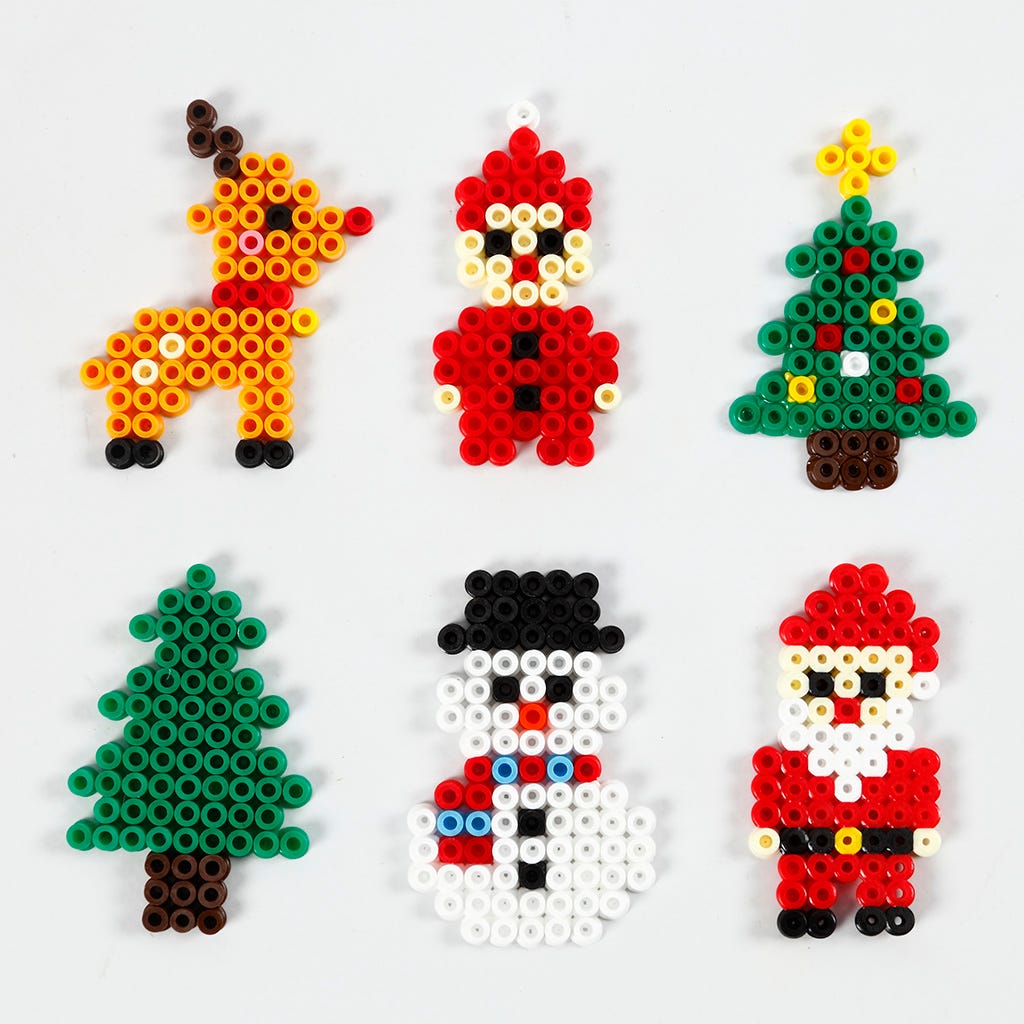
Check out the various figures in the image below which fit inside the snow globe. Select your favourite design!
Step 2
Copy the pattern and place the different coloured Nabbi fuse beads on a pegboard.
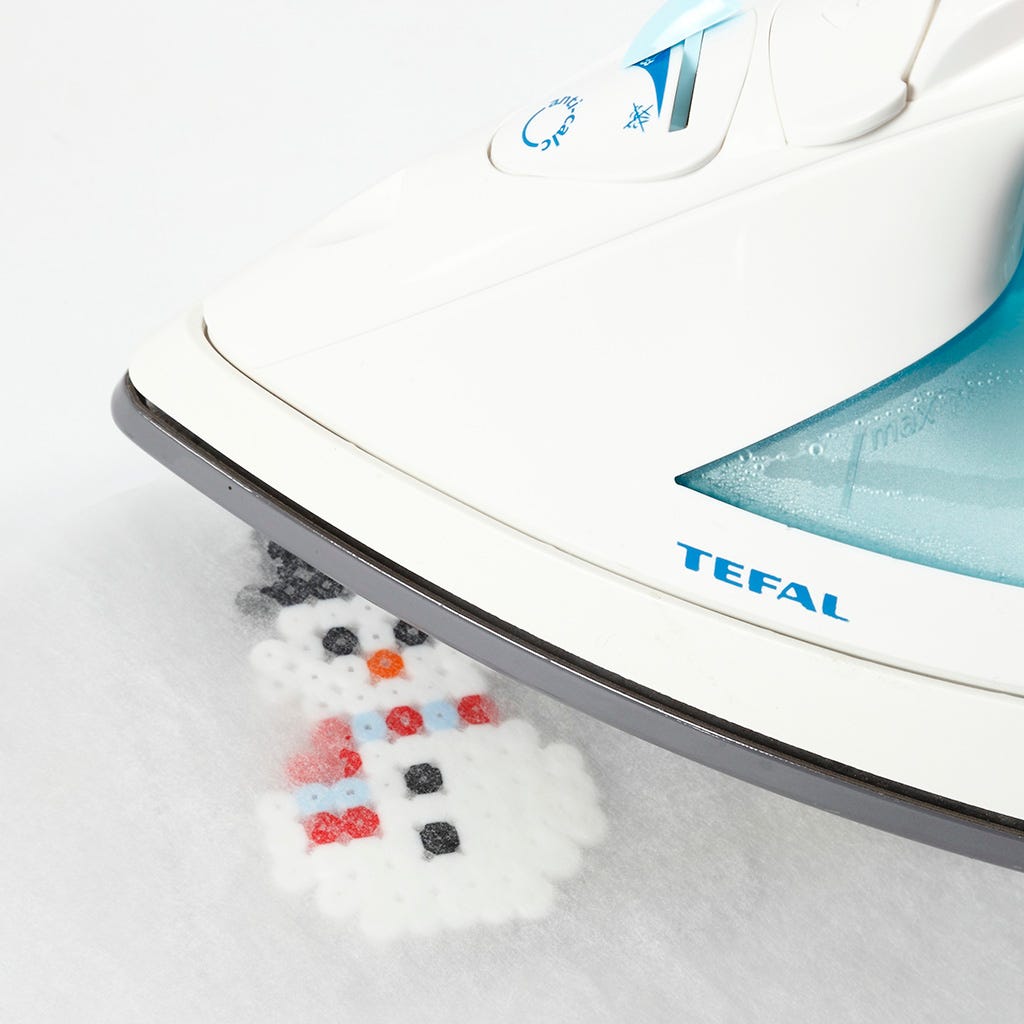
Place a piece of ironing paper or baking paper on top of the beads and iron them together with an iron. Do a small test beforehand as the temperature varies from one iron to another.
Iron the beads so that they lightly melt together and then remove them carefully from the pegboard (still with the ironing paper or the baking paper on top). Place a book or a heavy object on top until the beads have cooled down, then remove the ironing paper or baking paper.
Step 3
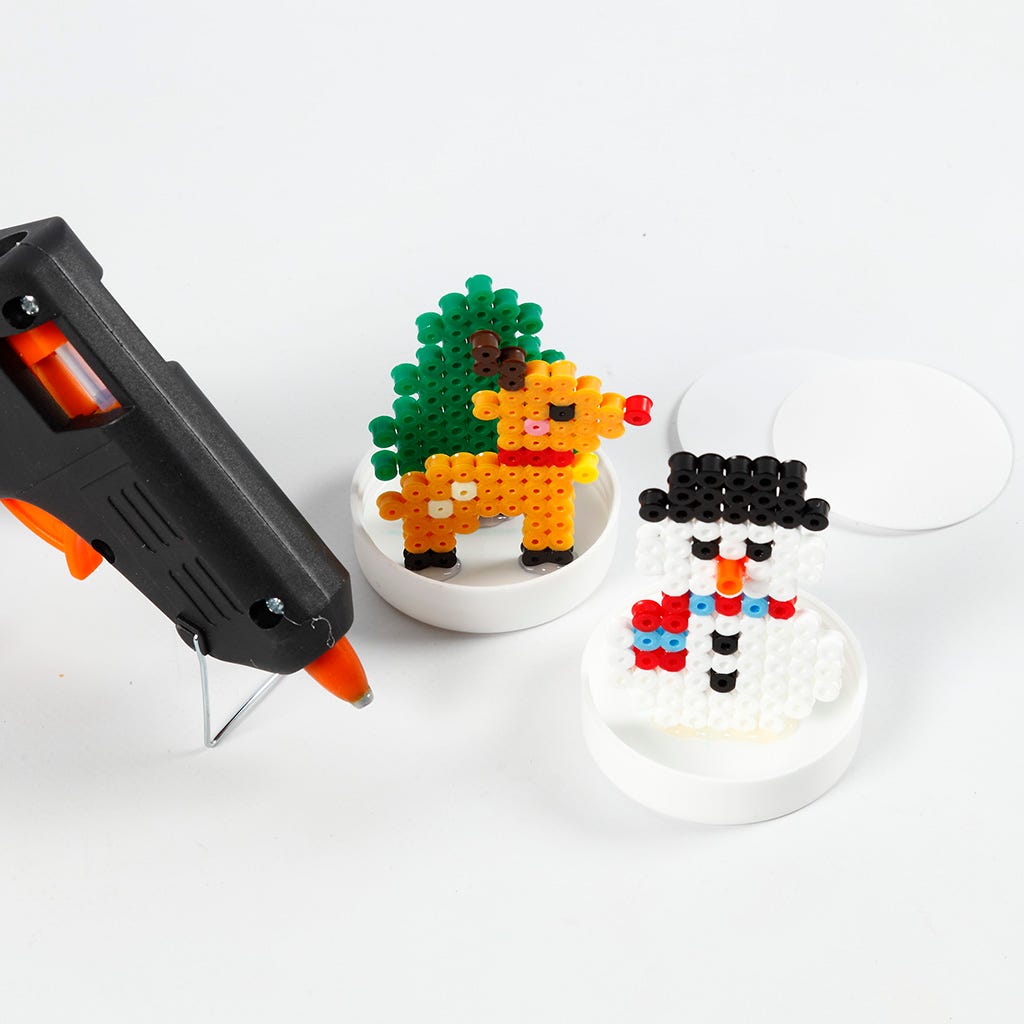
Unscrew the lid of your snow globe, remove the card from inside the lid.
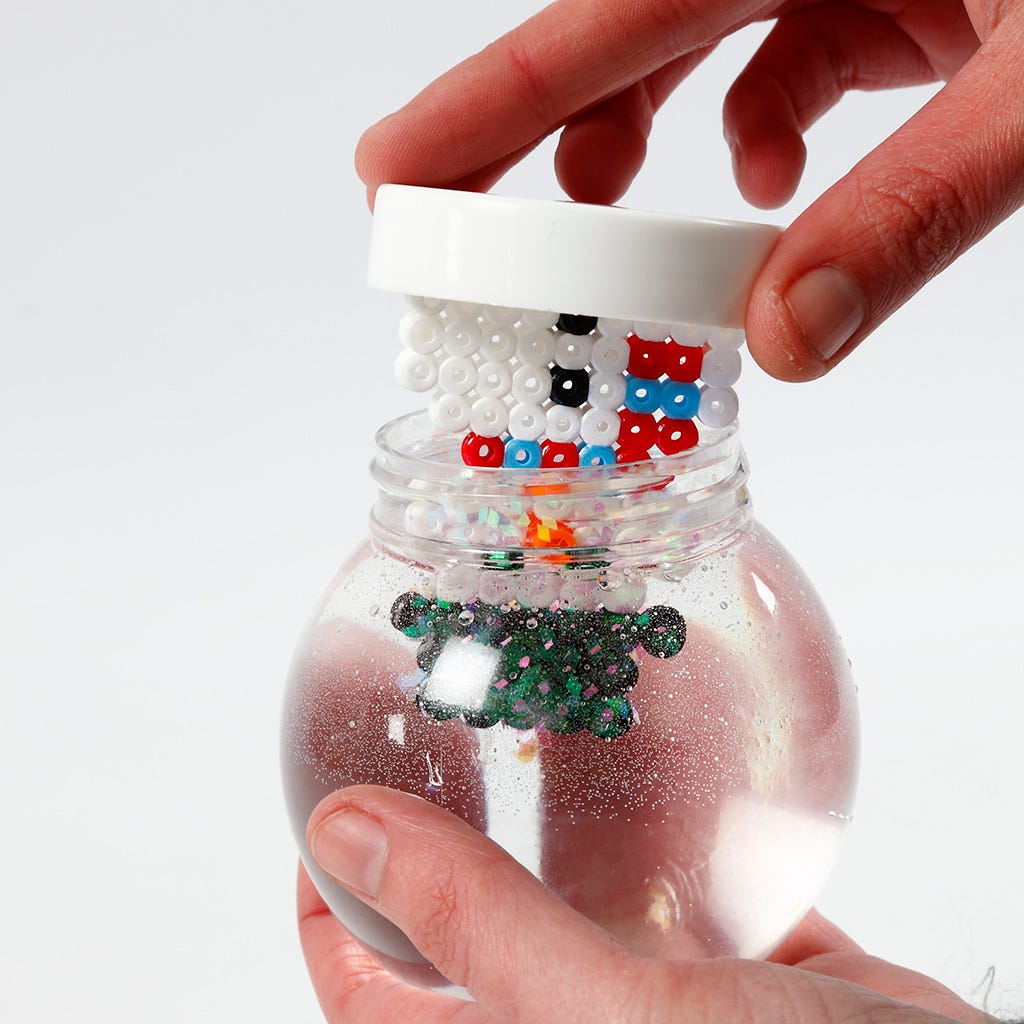
Glue one or two Nabbi fuse bead figures onto the inside of the lid using a hot glue gun. Make sure to place the figure in the centre of the lid.
Step 4
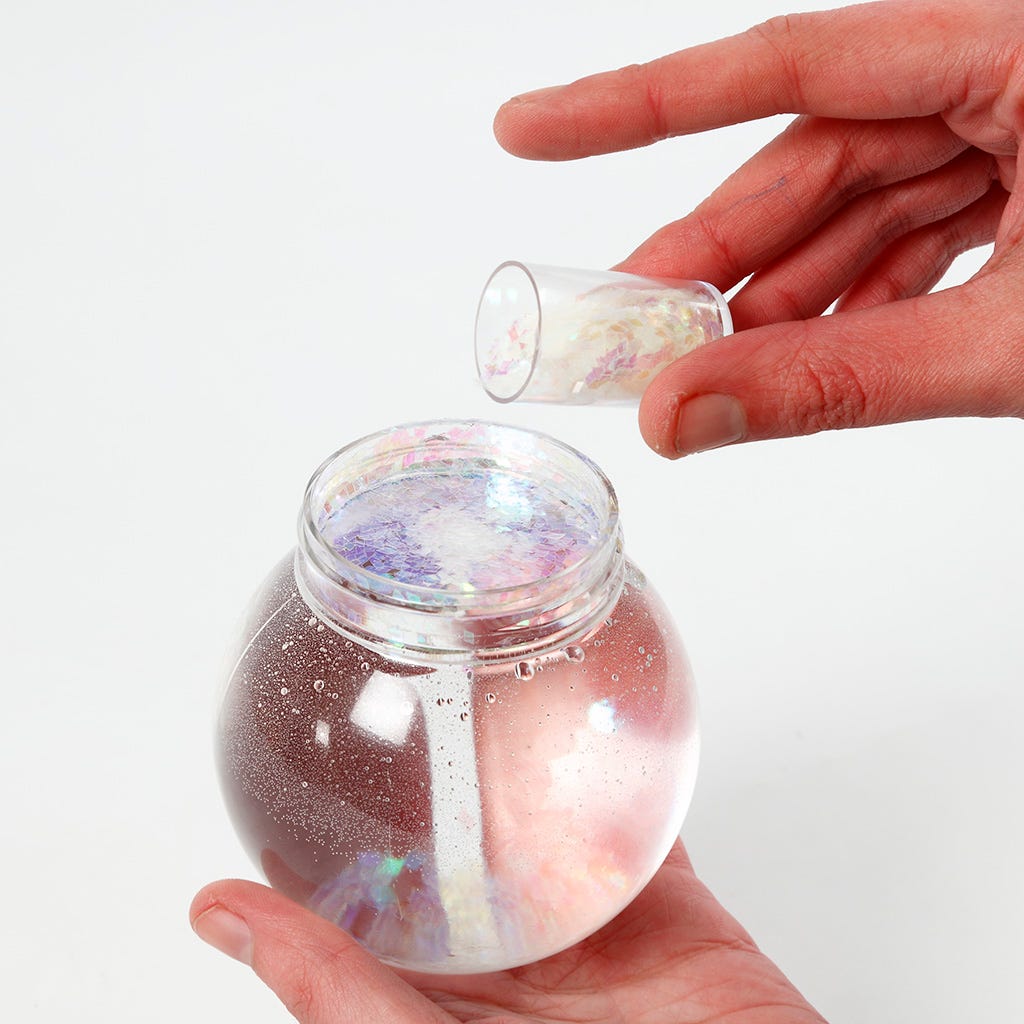
Fill the snow globe with water to approx. 0.5 cm from the rim and sprinkle glitter into the water.
Step 5
Screw the lid back on. Hold the snow globe over a bowl in case some of the water spills over the edge.
Step 6
To finish, decorate the side of the lid with colourful/glitter masking tape.